
Do you like to draw or want to get into the craft? Start with some easy cat drawings! They’re fun and cute. Plus, there are simple techniques for any skill level to draw your favorite furry friends. In this article, we share five methods for sketching cute cats.
Get your pencil and paper ready, and let’s get to it!
Can Anyone Do Easy Cat Drawings?
Yes, easy cat drawings can be done by anyone. Whether you have artistic abilities or not, there are simple methods that can be taught to most people. Even if you’re a beginner, there are step-by-step tutorials available that can guide you through the process.
By starting with basic shapes, such as circles and triangles, and gradually adding details like the eyes, ears, and whiskers, a cute feline character can be brought to life on paper. With a little bit of practice and a willingness to experiment, you can create charming and adorable cat sketches.

What Do You Need To Do a Cat Drawing?
To create a cat drawing, there are a few essential things you’ll need. First, get some drawing materials, such as pencils, pens, or markers. The choice of medium depends on your personal preference and the desired effect you want to achieve. If you’re working with pencils, it’s helpful to have an eraser handy for making corrections and adjustments.
You’ll also need a piece of paper or sketchbook to work on. Be sure to put it on a level, hard surface to do your cat drawing.
Lastly, it can be beneficial to have references available like photos or illustrations of cats. This helps capture the unique features of felines you may not think of without them.

5 Methods for Sketching Cute Cats
Are you ready to draw a cat? Get your drawing utensil and some paper. We’re going to take you through five methods for sketching cute cats. Try to draw each one and see which you like best.
1. Oval Head Method
The oval head method is one of the easiest methods for drawing a cute cat. Start by drawing an oval, which will be the cat’s head. Next, add two triangular ears and erase part of the oval where the ears meet it. Then, move on to drawing the body and legs. Also, add whiskers, eyes, and a nose.
Click for a PDF tutorial on the oval head method. Or watch the following video.

2. Facial Expressions
Drawing a cat’s facial expressions can be simple. You can draw a square mouth to make a surprised look. Or draw a frown for a grumpy cat.
This video includes one of the most common cat facial expressions. Follow the tutorial at your own pace by pausing the video while you catch up on the drawing.

Suggested Reading: Learn why some cats stare at you all the time.
3. Round Face With Triangle Ears Method
The round face with triangle ears method is similar to the oval head method with some adjustments. Draw a circle for the cat’s face and then draw connecting circles for the rest of the body. So, you’ll have six circles total – one for the face, one for the mid-section to rump, and four for the feet.
Watch this video tutorial to learn how to do the round face with triangle ears method.

4. Sitting Cat
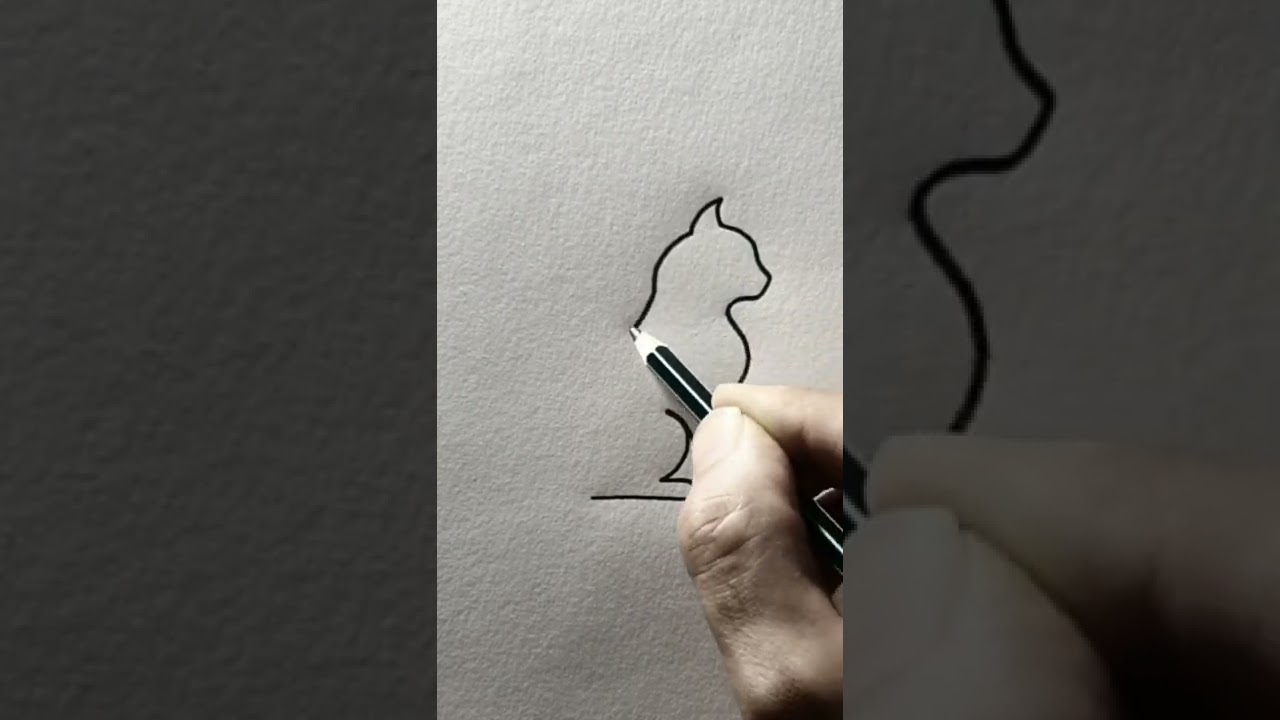
The sitting cat method for sketching cats is one of our favorites. You can draw it with one continuous line, and then add whichever facial expression you choose later.
Use this video to learn how to draw a sitting cat.
5. Standing Cat
The standing cat is an easy drawing to teach at any age and is most commonly taught to kids. It starts with a round face and triangle ears. Then, you draw a long oval body and add legs and a tail. It may take some practice to get the legs and tail the right proportions, but the end result will be worth it!
This video tutorial is good for learning how to draw a standing cat and teaching the method to others.

Too Easy For You? Start Adding Details for More Realistic Cat Drawings
To advance your cat drawings to the next level and add more details, there are a few techniques you can employ. A fun exercise to first is to observe real cats or reference images to gain a deeper understanding of their anatomy and features. Pay attention to the proportions, the shape of the head, the placement of the eyes and ears, and the details of the fur. This will help you create more realistic and accurate representations.
Next, focus on refining the basic shapes you initially sketched. For example, use lighter lines to outline the contours and gradually darken them as you gain confidence. Also, try adding details like the eyes, nose, mouth, and whiskers, paying attention to their placement and shape. The idea is to work on making the cat look more realistic.
You can also experiment with shading and textures to create depth and dimension in your drawing. Use hatching, cross-hatching, stippling, or scribbling techniques to convey fur texture or shadow areas and make the cat more realistic looking.
Check out this video tutorial to learn how to use hatching, cross-hatching, stippling, and scribbling.

Finally, don’t be afraid to be creative and add your own artistic flair to your cat drawings. Add accessories, backgrounds, or even play with different styles to make your sketches more unique and expressive. For example, add a house or outdoor area around the cat. Or draw some toys for it to play with.
Finally, feel free to bring in the color! If you feel too restricted by the basic colors of gray, brown, and black, get creative with blues, pinks, and yellows to bring out your subject’s colorful personality.
Pro Tip: Learn about how a cat moves to gain insight into your drawings. For example, find out about the remarkable muscles of felines.

Practice Your Sketch Skills With Easy Cat Drawings
Start with easy cat drawings and see where your artistic skills take you. Practice regularly, be patient with yourself, and with time, you’ll see your cat drawings evolve and become more intricate and captivating. You may even want to frame one!
Have you done any cat drawings? We’d love to see your work. Take a photo and tag us on social media.
Stay Informed – Join the HypePets Community!
If you’re like us, your pets are like family. Stay up to date on the latest news, info, tips, and gear to help your pet live its best life!
